Design Principles / EXERCISES
24.08.2021 - 28.09.2021 (Week 1 - Week 6)
Lulu Luisa Linardi / 0349358
/ Bachelor of Design (Hons) in Creative Media
Design Principles
EXERCISES
LECTURES

|
|
Fig 1.0: Thumbnail |
Link to Exercises:
Week 2: Balance & Emphasis, Repetition & Movement
Week 3: Harmony & Unity; Symbol, Word & Image
Week 1: Elements & Principles of Design, Contrast & Gestalt Theory
- ELEMENTS OF DESIGN
1. POINT
A point is the smallest and simplest element of design, often used as
repetititve mark to form a line.

|
| Fig 1.1.1: Point |
2. LINE
Lines are continuous mark made on a surface by a moving point. It can be
straight or wavy, long or short, heavy or soft, architectural or organic.
Lines can be active or static, aggressive or passive, sensual or
mechanical.

|
| Fig 1.1.2: Line |

|
|
Fig 1.1.3: Geometric shape |

|
|
Fig 1.1.4: Organic shape |
4. FORM
A form is almost the same as a shape, but it refers to a three dimensional
element and has volume in its space. Form is often a major element in
sculpture and architecture. However, we can also see a form in two
dimensional media, such as painting, illustration, or drawing, which is
usually enhanced in tone, texture and color.

|
|
Fig 1.1.5: 3D form |

5. TEXTURE
Texture refers to the tactile qualities of surfaces or to the visual
representation of those qualities, such as rough, smooth, spiky, soft,
hard, glossy, etc. It can be real or implied. Texture is categorized
into actual texture (experienced by touch), and simulated or implied
texture (created to look like the real texture).

|
|
Fig 1.1.7: Actual texture |

|
| Fig 1.1.7: Simulated/Implied texture |
6. SPACE
Space is an indefinable distance between, around, or within elements. In
two dimensional elements, space refers to the area that a shape or form
occupies, which is categorized into positive space (the actual object,
filled space) and negative space (the empty space which is created from
the open spaces), while the three dimensional space is experienced when we
are in it.

|
||
Fig 1.1.9: 2D space
|


|
| Fig 1.1.11: 3D space from inside |
7. COLOR
Color is the visual byproduct of the spectrum of light as it is either
transmitted through a transparent medium, or as it is absorbed and
reflected off a surface. Light plays a really important role in
color.

|
|
Fig 1.1.12: Color spectrum |
- HUE, the colors of the spectrum, e.g. yellow and green.

|
| Fig 1.1.13: Hue |
- VALUE, the lightness or darkness from white through greys to black. Black and white pigments can be important ingredients in changing color values. White added to a hue produces a tint, grey added to a hue would result in a tone, while adding black to a hue produces a shade of that hue.

|
|
Fig 1.1.14: Value |
- INTENSITY (SATURATION), the purity of a hue. With pigment (black, white or grey) of another hue is added to a pure hue, its intensity diminishes and is dulled.

|
| Fig 1.1.15: Intensity (Saturation) |
Color groupings that provide distinct color harmonies are called color
schemes, i.e.:
- Monochromatic, based on variation within a
single hue.
- Analogous, based on colors adjacent to one
another on color wheel, contains the same pure hue.
-
Complementary, emphasize two hues directly opposite each other on
the color wheel.

|
| Fig 1.1.16: Color scheme |
- PRINCIPLES OF DESIGN
1. Contrast
2. Balance
3.
Emphasis
4. Rules of Third
5. Repetition/Pattern/Rhythm
6.
Movement
7. Hierarchy
8. Alignment
9. Harmony
10.
Unity
11. Proportion
Topic 1.2: Contrast & Gestalt Theory
- CONTRAST
Contrast is the juxtaposition of strongly dissimilar elements, or
differences between elements of subject in an artwork. Visual experience
will be monotonous and meaningless without contrast. Contrast creates
interesting relationships between the visual elements. It emphasizes a
point and expresses content to grab our attention and make it easier to
get what we are seeing.

|
| Fig 1.2.1: Contrast applied in daily life |

|
|
|

|
|
Fig 1.2.3: Contrast applied in poster
|
1. PRINCIPLE OF SIMILARITY
The human eye tends to perceive similar elements in a design as a complete
picture, shape, or group, even if those elements are separated.

|
|
Fig 1.2.4: Principle of Similarity |
2. PRINCIPLE OF CONTINUATION
The human eye follows the paths, lines, and curves of a design, and
prefers to see a continuous flow of visual elements rather than separated
objects.

|
| Fig 1.2.5: Principle of Continuation |
3. PRINCIPLE OF CLOSURE
The human eye prefers to see complete shapes. If the visual elements are
not complete, the user can perceive a complete shape by filling in missing
visual information.

|
| Fig 1.2.6: Principle of Closure |
4. PRINCIPLE OF PROXIMITY
The process of ensuring related design elements are placed together. Any
unrelated items, should be spaced apart. Close proximity indicates that
items are connected or have a relationship to each other and become one
visual unit which helps to organize or give structure to a layout.

|
| Fig 1.2.7: Principle of Proximity |
5. PRINCIPLE OF FIGURE/GROUND
Objects are instinctively perceived as being either in the foreground or
the background. They either stand out prominently in the front (the
figure) or recede into the back (the ground).

|
| Fig 1.2.8: Principle of Figure/Ground |
6. LAW OF SYMMETRY AND ORDER
This law states that elements that are symmetrical to each other tend to
be perceived as a unified group. Similar to the law of similarity, this
rule suggests that objects that are symmetrical with each other will be
more likely to be grouped together than objects not symmetrical with each
other.

|
| Fig 1.2.9: Principle of Symmetry and Order |
Week 2: Balance & Emphasis, Repetition & Movement
Topic 2: Balance & Emphasis
- Balance
In visual communication, balance refers to the
distribution of visual weight in a work of design. It is the visual
equilibrium of the elements that causes the total image to appear
balanced. It is categorized into symmetrical and asymmetrical balance.
1. Symmetrical Balance
It has equal weight on equal sides of a centrally placed fulcrum. The
equal arrangement of elements on either side of the central axis
(horizontal or vertical) resulting in bilateral balance.

|
| Fig 1.3.1: Symmetrical Balance |
Elements arranged equally around a central point results in radial balance. Approximate symmetry is when equivalent but not identical forms are arranged around the fulcrum line.

|
| Fig 1.3.2: Radial Balance |

|
|
Fig 1.3.3: Approximate Symmetry |
2. Asymmetrical Balance
It has unequal visual weight on each side of the composition. One side of
the composition might contain a dominant element, but it could be balanced
by a couple or more lesser focal points on the other side. Asymmetrical
balance feels more dynamic and interesting because it offers more visual
variety, although it can be more difficult to achieve because the
relationships between elements are more complex. It evokes feelings of
modernism, movement, energy and vitality.

|
| Fig 1.3.4: Asymmetrical Balance #1 |

|
|
|
- The Golden Ratio
Golden ratio (Golden Mean, or Golden
Selection, also known as phi) is a mathematical concept and a number that
goes on indefinitely. It has been perceived the representative of perfect
beauty. It can be used to bring harmony, balance and structure to one’s
work, also to increase the appeal of a design work.

|
| Fig 1.3.6: Golden Ratio |

|
|
|

|
|
|
- Rule of Thirds
It is the process of dividing an image evenly
into thirds, using two horizontal and two vertical lines. The subject of
the image is placed at the intersection of those dividing lines, or along
one of the lines itself.

|
| Fig 1.3.9: Rule of Thirds |

|
| Fig 1.3.10: Rule of thirds applied in photography |

|
|
|
- Emphasis and Dominance
Emphasis is used to create
dominance and focus in a design work. To achieve dominance, various
elements can be used to create emphasis, such as color, shapes or value.


TOPIC 3: Repetition & Movement

|
|
Fig 1.4.1: Repetition |

|
|
Fig 1.4.2: Repetition applied in fashion poster |

|
|
Fig 1.4.3: Repetition applied in home furniture |
- Movement
It is the way a design leads the eye in, around, and through a
composition, or the path the eye follows. Motion or movement in a visual
image occurs when objects seem to be moving in a visual image. Movement in
a visual image comes from the kinds of shapes, forms, lines, and curves
that are used.

|
| Fig 1.4.4: Movement |

|
| Fig 1.4.5: Movement applied in text |

|
|
Fig 1.4.6: Movement applied in poster |
- Hierarchy
It is the choreography of content in a composition to communicate
information and convey meaning. Visual hierarchy directs viewers to
the most important information first, and identifies navigation
through secondary content.

|
||
|
Fig 1.4.7: Hierarchy applied in a website #1
|


|
|
Fig 1.4.9: Hierarchy applied in mobile app |
- Alignment

|
| Fig 1.4.10: Alignment applied in a website |

|
| Fig 1.4.11: Alignment applied in product packaging |

|
| Fig 1.4.12: Alignment applied in magazine cover |
Week 3: Harmony & Unity; Symbol, Word & Image
TOPIC 4: Harmony & Unity
- Harmony
It involves the selection of elements that share a
common trait and will become monotony without variety. Harmony is the
sense that all of the elements of your design fit together (same theme,
aesthetic style or mood).
|
|
||
|
Fig 1.5.1: Harmony applied in home furniture
|


- Unity
It refers to the repetition of particular
elements throughout the design to pull the look together. It occurs when
colors, shapes or materials are composed in such a way that they are
balanced and give a sense of oneness, creating a theme.

|
| Fig 1.5.3: Unity applied in illustration |

|
| Fig 1.5.4: Unity applied in poster design |
- Scale
It is the size of one object in relation to the other objects in a
design or artwork, which refers to the size and dimension of figures and
forms relative to a specific unit of measure.

|
| Fig 1.5.5: Scale applied in architectural drawing |
Scale can be determined in two ways:
1. Actual measurement

|
| Fig 1.5.6: Actual measurement |
2. Visual estimates based on comparison

|
| Fig 1.5.7: Visual estimates based on comparison |
Substantial deviation from a normal scale relationship can create dramatic results and visual interest within the design or composition.

|
| Fig 1.5.8: Application of scale in daily life |

|
| Fig 1.5.9: Scale applied in religious artwork |
- Proportion
It is the relationship of two or more elements in a composition and how they compare to one another with respect to size, color, quantity, degree, setting, etc. It will be harmonious when a correct relationship exists between the elements with respect to size or quantity.

|
|
Fig 1.5.10: Proportion applied in comic book cover |

|
||
| Fig 1.5.12: Proportion applied in property ads |

TOPIC 5: Symbol, Word, & Image
1. Pictorial Symbols
It is image-related and simplified pictures.

|
|
Fig 1.6.1: Example of Pictorial symbols #1 |

|
| Fig 1.6.2: Example of Pictorial symbols #2 |
2. Abstract Symbols
It looks like the objects that they represent, but with less
details.

|
| Fig 1.6.3: Example of Abstract symbols #1 |

|
|
Fig 1.6.4: Example of Abstract symbols #2 |
3. Arbitrary Symbols
It has no resemblance at all to the objects or the ideas they
represent, which is invented with the meaning constructed, and many of
them are based on geometric shapes and colors.

|
|
Fig 1.6.5: Example of Arbitrary symbols #1 |

|
| Fig 1.6.6: Example of Arbitrary symbols #2 |
- Word & Image
Imagery is a vital part of design, so if the right images (relevant and suitable) are used in a work of design, it'll make users and viewers easier to relate to a concept or a brand.

|
| Fig 1.6.7: Word & Image application to reflect the purpose of the book |
It is important to choose the right words to pair with the imagery as it would deepen the meaning of the design. Suitable typeface and strategic positioning of the type will result in visual hierarchy and balance in a work of design.
|
|
||
|
Fig 1.6.8: Word & Image applied for company image
|


INSTRUCTIONS
Exercise 1: Contrast & Gestalt
- Contrast
We were told to do a visual research in order to get
idea exploration. I did a research for the contrast design and found some
interesting photos on Pinterest. I got the first photograph of sky buildings
which is representing the contrast principle. It can be seen clearly from
the different colors between the sky (white background) and the buildings
(dark color). By observing more, I realized that the photographer wanted to
show us not only a great photograph of sky buildings, but also a strong
emphasis of the contrast between object and background. I found it
interesting to recreate this as an artwork, so I tried to find another
photograph of sky building to get inspiration of the building arrangement
and got that second image.

|
| Fig 21.1: Sky Building #1, 31.08.2021 |

|
|
|

|
|
Fig 2.1.2: Rough sketch, 31.08.2021 |

|
|
Fig 2.1.3: Final Outcome #1, 31.08.2021 |

|
| Fig 2.1.4: Final Outcome #2, 31.08.2021 |
Fig 2.1.5: Contrast Final PDF, 31.08.2021
I also did a visual research on design that applying gestalt theory. It was actually harder since there are so many principles of design we can use. Finally I saw the first design on Pinterest, which applied the principle of continuation as seen from the continuous repetition of person and their shadow. Later, I also found another interesting artwork with the principle of continuation concept. It is actually an ad poster by a mobile phone company that is reminding drivers of the danger of using a phone while driving. The designer wanted to deliver it through a flowing shape there. To gain further idea exploration, I tried to explore more on those two designs and think harder how to create a simple but interesting and meaningful design.

|
|
Fig 2.2.1: Example of Continuation #1, 31.08.2021 |

|
| Fig 2.2.2: Example of Continuation #2, 31.08.2021 |

|
|
|

|
| Fig 2.2.4: First outcome, 31.08.2021 |
Actually, I already came out with a final outcome, but when I saw some feedback given to my classmates, I realized that my design is too empty. Hence, I tried giving some distortions to the flowing line so it'll look more curved and can at least fill half of the blank space. And finally, the design looks more real than the previous one.

|
|
|
Fig 2.2.6: Gestalt Final PDF, 31.08.2021
Exercise 2: Balance & Emphasis, Repetition & Movement
- Movement
This week, we got to choose by ourselves which
principle of design we want to produce from 4 of the new principles. I
picked principle of movement for the first design, and discovered a
great application of movement on Pinterest. This design represents the
principle of movement as seen from the flowing lines that really shows
movement of water (water flow). It also got a few people swimming there,
so viewers can immediately get what the design wants to show.

|
|
Fig 2.3.1: Example of Movement #1, 06.09.2021 |
After taking a look at the design, I tried to recreate the design with fresher image. Firstly, I drew a girl there with a swimwear and sunglasses to create a summer look, and also added a glass of cocktail to complete her looks. I used bright colors and added more elements to show a refreshing artwork. Also put a sun in the corner so it really represents a refreshing summer day in a pool. And lastly, I changed the background color from white to light lime so the design won't be too simple. The design has already done actually, but I did a bit modification on its waves so the sense of movement looks more evident.

|
| Fig 2.3.2: Final Outcome, 06.09.2021 |

|
|
|
Fig 2.3.4: Movement Final PDF, 16.09.2021
- Emphasis
I explored for another artwork on Pinterest, and
found this inspiration. It may look simple because it's only a picture
of unfinished puzzle. However, that one unfinished piece is showing a
strong emphasis for the whole picture because it has a very contrast
color.

|
| Fig 2.4.1: Example of Emphasis, 12.09.2021 |
Finally, I came out with an idea to make a heart shape with those unfinished puzzle pieces. I used almost the same color as the inspo I got, but I tried to modify it a lil bit. First thing first, I made a rough sketch for my design, then I drew some different puzzle pieces for the material. Later, I arranged the puzzle pieces to create a whole puzzle look for my design.

|
||
|
Fig 2.4.2: Rough sketch, 13.09.2021
|


|
| Fig 2.4.4: Final Outcome, 13.09.2021 |
Fig 2.4.5: Emphasis Final PDF, 13.09.2021
Exercise 3: Harmony & Unity; Symbol, Word & Image
- Harmony
I chose harmony for my first work of exercise 3 after exploring my
phone galleries. I really love eating berries, and before eating I often
take some pictures of them. So when I was doing a research, I was so
grateful that I found these pics. After taking a look of them, I decided
to draw mixed-berries (strawberry, blueberry, blackberry, and raspberry)
and put them together on a plain white plate. I chose a plate because it
is the easiest to draw.

|
| Fig 2.5.1: Some references from my own photographs |
This is my idea that I sketched. I made a rough sketch of the berries (even tho it doesn't look like them at all) and a plate, just to have the approximation of those berries. Later, I started to draw the plate and the berries.

|
| Fig 2.5.2: Rough Sketch, 19.09.2021 |

|
| Fig 2.5.3: Plate making process #1, 19.09.2021 |
I only created one berry for each berries and than copy them all. I worked hard on the stacking part because I need to have the best composition, and should think how to get better composition, how to create a great combination of the berries.

|
| Fig 2.5.4: Berries making process, 19.09.2021 |

|
| Fig 2.5.5: First Outcome, 19.09.2021 |
However, Dr Charles told me to make shading and different technique of
coloring, also to remove the text there so the artwork doesn't look like I only copy and paste
everything, hence I'm trying to fix them.
So here's what the modification/manipulation looks like. I zoomed in the main objects, the berries and its plate. Then I rearranged some berries to create more harmonious feeling (with the equal distribution of both sides). The berries are now filling the plate and leaving less spaces (plate looks thinner), so it is more focused (emphasis) on the berries. And lastly, I tried to play around with different coloring technique and color scheme, giving them shading so it looks not so real but at least more real than the previous one.

|
| Fig 2.5.6: Final Outcome, 01.10.2021 |
Fig 2.5.7: Harmony Final PDF, 01.10.2021
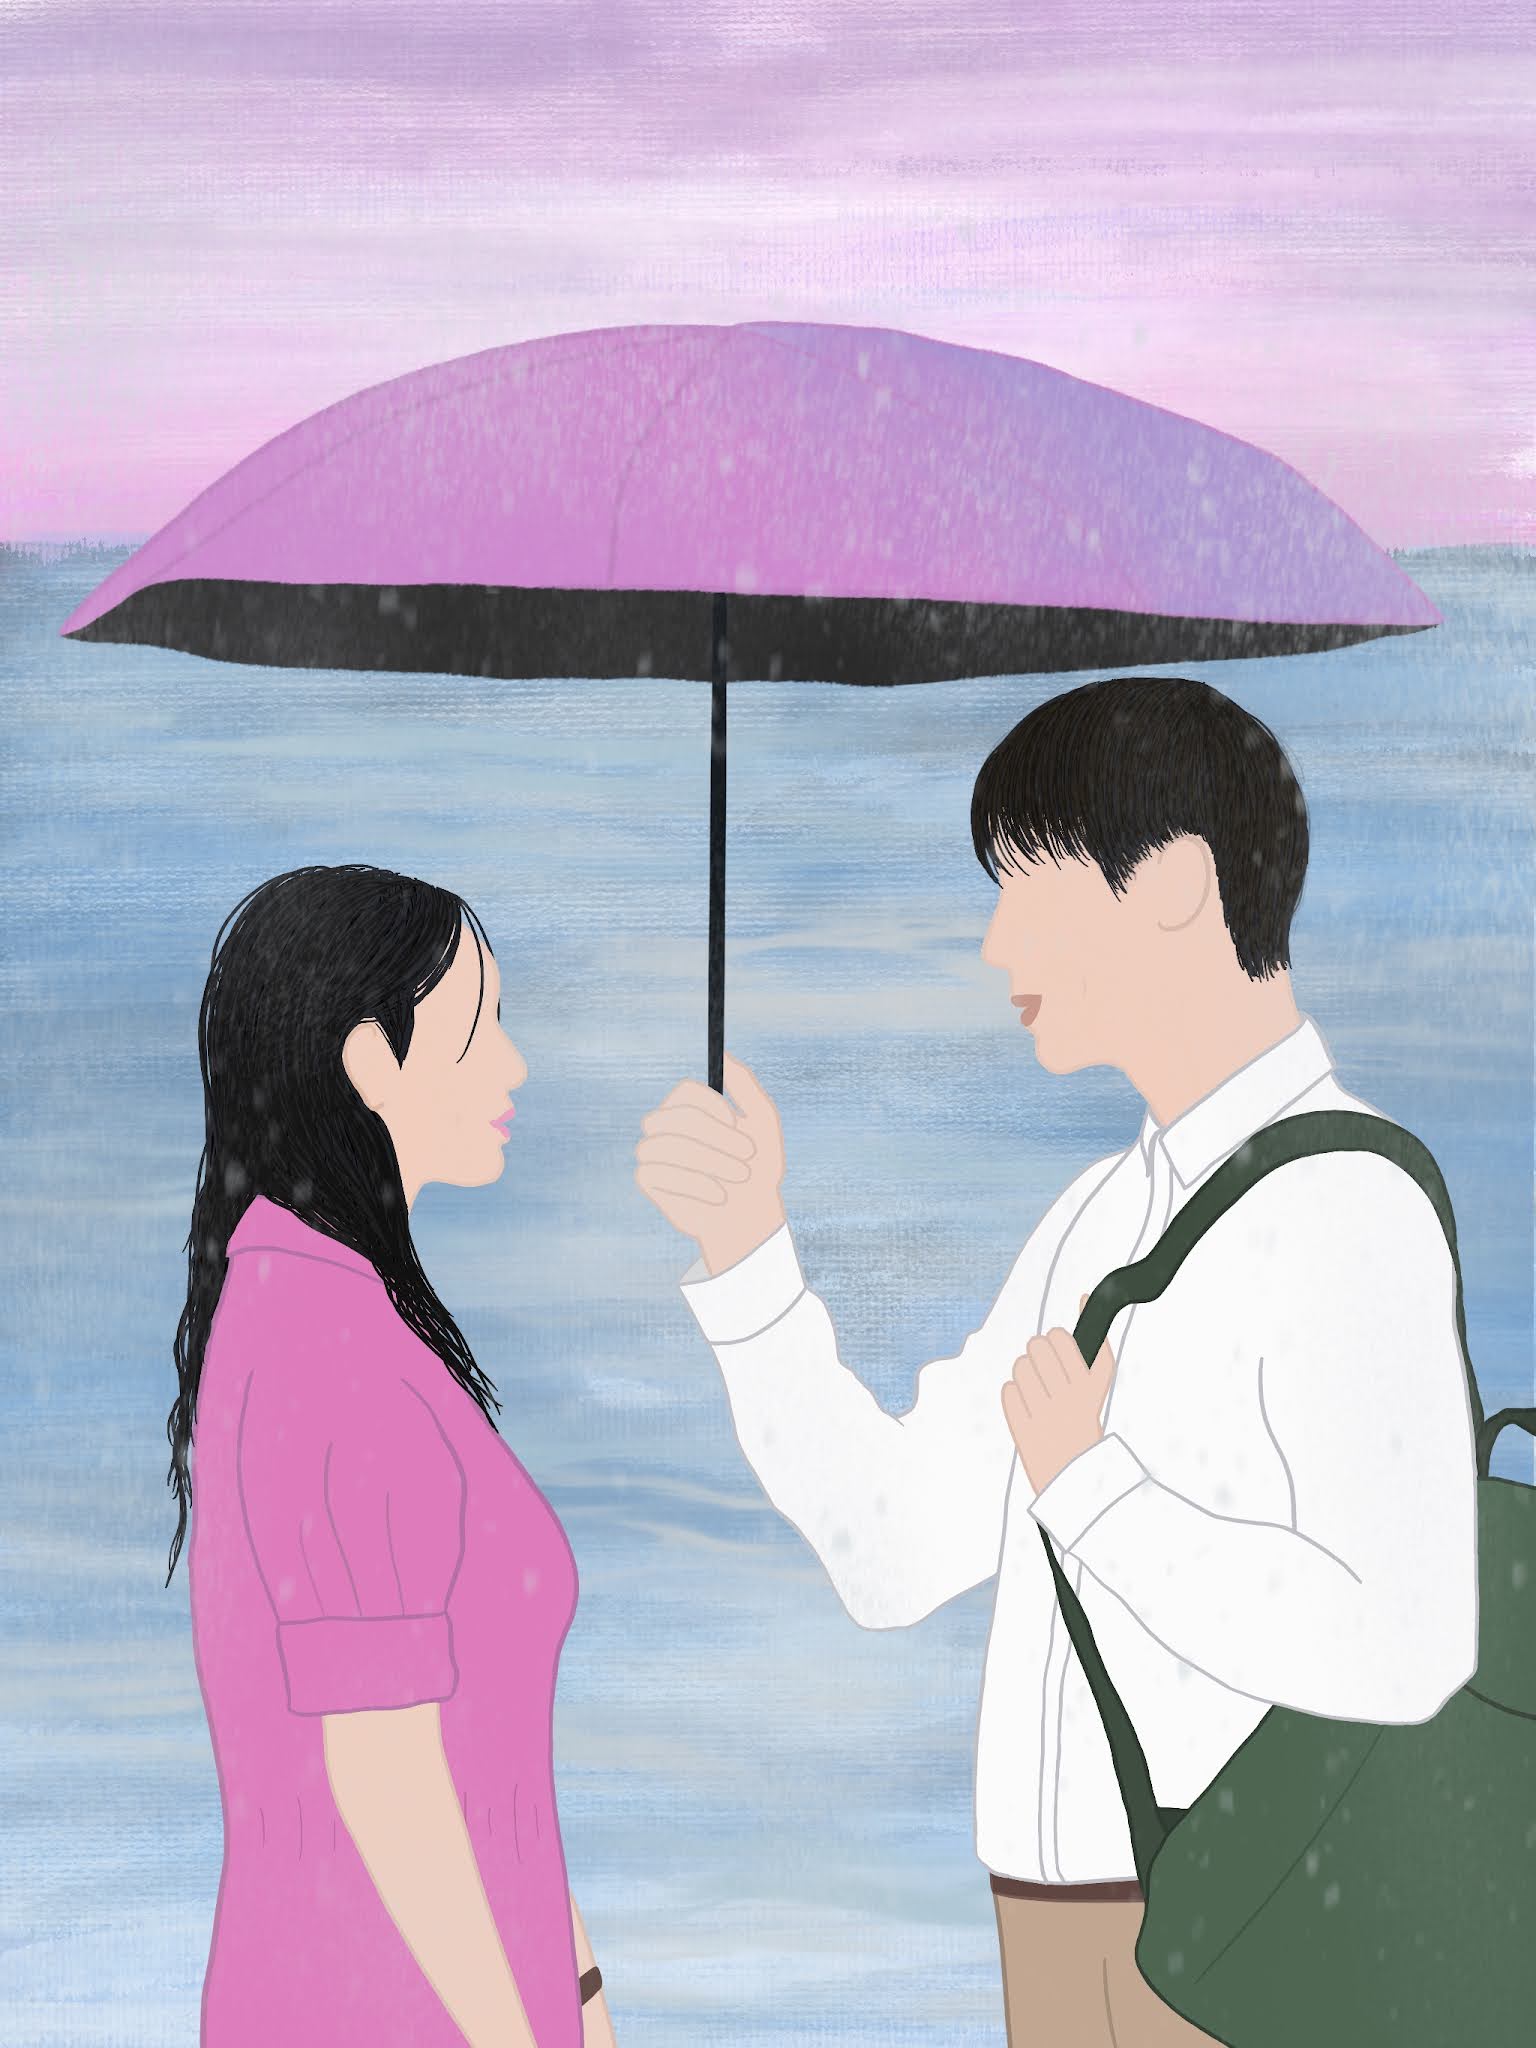
For the next one, I picked unity for my work. After having a long research, I decided to make a fanart from a scene of the latest k-drama "Hometown Cha-Cha-Cha" because I saw unity there. The two person under an umbrella, with the blue sea and beautiful sky as the background really formed a unity. I took two references for my artwork, the full and also the close up version.

|
| Fig 2.6.1: Hometown Cha-Cha-Cha EP. 5 (Screenshot) |

|
| Fig 2.6.2: Hometown Cha-Cha-Cha EP. 5 (Still Cut) |
Because it's been a while since the last time I draw a fanart, I think my skill is getting worse. I can't even draw a face, so I only made the silhouette and added color to their lips. The face is really failed, but I don't think it is a big problem since it still shows unity.

|
| Fig 2.6.3: Rough Sketch, 25.09.2021 |

|
| Fig 2.6.4: Color palette, 25.09.2021 |

|
| Fig 2.6.5: Outcome of the object, 25.09.2021 |
Next, I made the background with beautiful color scheme. I tried to use slightly different color from the references, but not too much because I'm making a fanart so I don't think I should make big difference from the original scene.

|
|
Fig 2.6.6: Background making process, 25.09.2021 |

|
| Fig 2.6.7: First Outcome, 25.09.2021 |
After finishing my work, I asked Dr Charles to take a look on it and give feedback because I wasn't too sure if it is considered as Unity or not. I also asked him whether I can use it since it is a fanart.
I made some changes after getting feedback from Dr Charles. Finally I chose to zoom in the objects so it becomes close-up right now. Then I did some modification for the individuals, umbrella, and added more water flow sense. Also! I added rain drops to create more interest.
|
| Fig 2.6.8: Final Outcome, 01.10.2021 |
I asked for a feedback again from Dr Charles and finally he said that I made a good improvement to this. However, I was told that it can still be a lil bit more adventurous in terms of the cropping. Therefore, I gave a try on zooming the objects a lil bit again and how it turns out is nicer I think. So, at last, I decided to have two of them in the final submission PDF, but for me myself, I prefer the more cropped one (Fig 2.6.9).

|
| Fig 2.6.9: Final Outcome (Cropped ver.), 01.10.2021 |
Fig 2.6.10: Unity Final PDF, 01.10.2021
FEEDBACK
(Harmony)
Good composition, but need to modify a bit. No need for the text, zoom in the main object. The plate looks more like the object that you wanted to emphasize, fill it with more berries so the frame won't look very thick. Fix the color of those berries with more shading or different style of coloring.
Week 6
(Unity)
Not too sure what is the emphasis. The
references showed 2 different things, one with bigger perspective, while
the other one is the close-up version. Why chose to show them in
mid-range, instead of either far or near. A bit of manipulation to the
angle is necessary. Think of what would you want to see happen or extent
the event to something more significant. Go further, don't take a step
back, see what's the next step to happen. Play around with the objects
by eliminating or do more cropping or can also add some elements into
there. (+)The use of colors is very harmonious and it's cute.
REFLECTION
Week 1
In the 1st week of class, we were given a short brief from Dr Charles
about the MIB. Later, he gave us a mission to form our name by arranging
small objects around us. The results were posted on Padlet so we could
see and react to each other's artwork. I really had fun during those
time. That moment, I realized that my idea for the object arrangement wasn't great enough
after seeing those amazing works by my classmates. Therefore, I'm trying
to reflect on what I'm lacking of.
Week 2
During this week, we had no class because it was a national holiday.
However, we got to watch 2 new lecture videos and had to do new task. My
brain was a lil bit stuck when doing this exercise because I couldn't
get any ideas even tho I had been doing research for few days. But
finally I got the ideas, and I think it was quiet enjoyable having a
visual research. I got to know that nothing comes out easily, even the
idea is difficult to get.
Week 3
Week 4
I actually got very insecure when seeing my classmates' works because I
think their works are so amazing with great drawing skill and also idea
exploration. So, I asked Dr Charles to give my works some feedbacks so I
can make some changes to my works. Surprisingly I got more compliments
instead of the criticisms. It really made my day.
Week 5
It was really confusing when I need to decide which principles to
choose, so I just created one without hesitating. However, I met some
problems after creating the work. I got confused on determining which
principle that my work applies to. So I tried to listen to the feedback
that Dr Charles gave to my classmates when the class was conducted.
Thankfully I can finally conclude which principle is applied to my work,
and it's harmony. So I think listening to the given feedback, even it is
not ours, is very important because it can really help us to overcome
our problems.
Week 6
This week's class was very relaxed. We got a brief regarding to
our assignment's marking, about the marking sheet and also the process
of marking. Lecturer also let us to have our own marking, so we can have
the mark given by ourselves, but later it'll be rechecked again by the
lecturer. By doing this, I think it can really help the students to
evaluate themselves and their own works. Students can also find how
valuable their works are.
FURTHER READING
http://learn.leighcotnoir.com/artspeak/elements-color/hue-value-saturation/
https://www.smashingmagazine.com/2015/06/design-principles-compositional-balance-symmetry-asymmetry/
https://nicholastinelli.com/the-golden-ratio-origin-of-the-rule-of-thirds/
https://www.interaction-design.org/literature/topics/visual-hierarchy